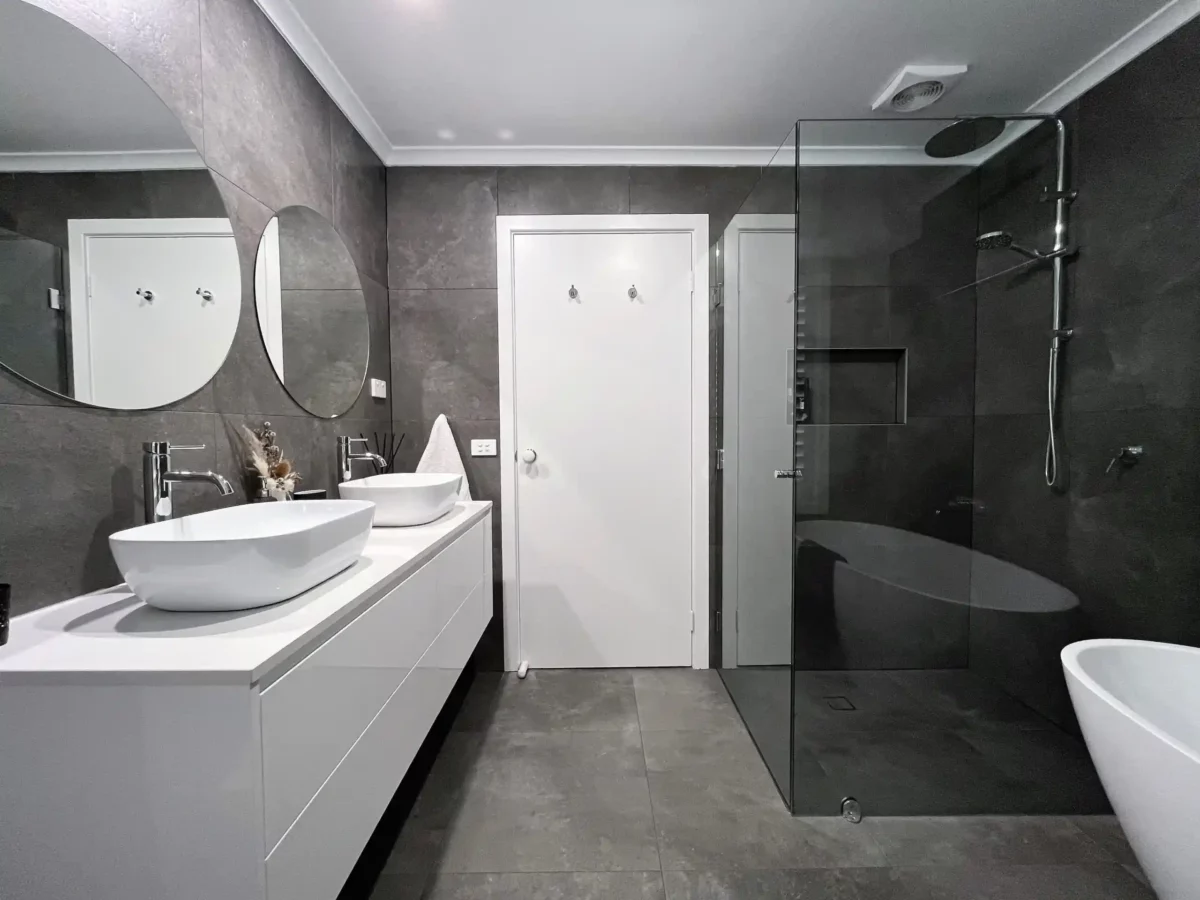


Learning how to clean bathroom tiles properly keeps your bathroom fresh and prevents harmful mould growth. Clean tiles mean a healthier home and a bathroom you’ll love using.
The process starts with basic supplies, scrubbing, rinsing, and drying. You’ll need vinegar, baking soda and a bit of effort. With regular maintenance and the right techniques, you’ll enjoy sparkling tiles that look new for years.
This guide shares easy step-by-step instructions, time-saving hacks. Continue reading.
Tired of Outdated Tiles? Let Paramount Creations expert team bring your dream bathroom to life with our professional renovation services.
Bathroom tiles get dirty with soap scum and grime. Learning to clean them will make your bathroom look fresh and new.
Step 1: Gather Your Supplies – The Preparation Phase
You’ll need a few things before you start cleaning your bathroom tiles.
Having everything ready saves you time and makes the job easier. Don’t forget to open a window or turn on the fan for good airflow while cleaning.
Step 2: Clear the Area – Making Space to Work
Take everything off your bathroom tiles and counters. Move bottles, toothbrushes, razors, and decorations to another room.
Cleaning works better when you can reach all the tile surfaces without stuff. Your cleaning will go faster when you don’t have to work around objects on the counters and in the shower.
Step 3: Dust and Rinse – The First Wipe Down
Grab a dry microfibre cloth and remove loose dust and hair from all tile surfaces. Then, spray plain water on the tiles and wipe them down to remove easy dirt.
This step gets rid of the top layer of mess before deep cleaning. Washing away surface dirt first means your cleaning products will work better on tough stains.
Step 4: Mix Your Cleaning Solution – The Natural Approach
Pour equal parts white vinegar and warm water into your spray bottle. For extra cleaning power, add two tablespoons of dish soap. Shake the bottle gently to mix everything.
Vinegar breaks down soap scum while being gentle on most tile types. Your bathroom will first smell like vinegar, but the smell goes away quickly.
Step 5: Apply the Cleaner – The Working Stage
Spray your cleaning mix on the tiles and let it sit for 5-10 minutes. Don’t let it dry completely. The solution needs time to break down dirt, and grime stuck to your tiles.
Spray extra solution on filthy spots or places with mould. The longer the solution sits, the less scrubbing you’ll need later.
Step 6: Scrub the Tile Surfaces – The Elbow Grease Part
Use your microfibre cloth to scrub the tiles in circular motions. For stubborn spots, try the old toothbrush to get into corners and grout lines.
Scrub with medium pressure – enough to remove dirt but not so hard you damage the tiles. Focus extra attention on areas that get wet often, like around the shower and sink.
Step 7: Tackle the Grout Lines – The Detail Work
Make a paste with baking soda and water for dirty grout. Apply the paste to grout lines with your toothbrush and scrub gently. Rinse with clean water after scrubbing.
Grout collects more dirt than tiles because it’s porous and often slightly lower than the tile surface. Clean grout makes your whole bathroom look much better.
Step 8: Rinse Everything – The Clean Sweep
Fill a bucket with clean, warm water and rinse all the tiles with a fresh cloth. Change the water when it gets dirty. Rinsing removes all cleaning solution and loosens dirt from the surfaces.
Step 9: Dry the Tiles – The Final Touch
Wipe all the tiles dry with a clean microfibre cloth or towel. Drying prevents water spots and new mould growth. Wet surfaces attract new dust and dirt faster than dry ones. Your bathroom will stay cleaner longer when you dry everything properly.
Step 10: Maintain Your Clean Tiles – The Prevention Plan
Keep a squeegee in your shower and use it after each shower to wipe down wet tiles. Spray vinegar solution once a week on trouble spots.
Regular quick cleaning prevents buildup that makes deep cleaning harder. You won’t need significant cleanings as often when maintaining your tiles between deep cleans.
Keeping bathroom tiles clean doesn’t have to be hard work. Try these simple tricks for sparkling results!
FAQ
What is the best thing to clean bathroom tiles with?
If you’re looking for a natural cleaning solution, a mix of equal parts white vinegar and warm water works wonders on bathroom tiles. Adding a squirt of dish soap boosts cleaning power. Microfiber cloths grab dirt better than regular towels or sponges.
How to clean bathroom tiles naturally?
Baking soda paste cleans grout beautifully when scrubbed with an old toothbrush. Steam cleaners loosen dirt without chemicals. Vinegar spray followed by warm water rinses leaves tiles sparkling clean.
How often to clean bathroom tile?
Quick daily wipe-downs prevent buildup, while thorough weekly cleaning stops mould growth. Deep clean grout monthly. High-traffic bathrooms need more attention. Your cleaning schedule should match how many people use your bathroom.
Wrapping Up
The process of how to clean bathroom tiles isn’t complicated once you learn the proper techniques. Regular maintenance and natural cleaners will keep your bathroom fresh and inviting.
Remember that consistency beats intense scrubbing sessions. By following these simple steps, you’ll have sparkling clean bathroom tiles that look great and create a healthier home environment.
Ready for a Fresh Start? Contact Paramount Creations today for a bathroom renovation that transforms your space into a luxurious retreat!